Friday, January 31, 2014

Colour school series: 1. "Africa in me" - necklace


Hi, I have recentley started following a volunteer sort of little school on facebook on colour theory in practice- it is fun. As the teacher sets us a new challenge once a week.

This first challenge was to take a handful of details stones or gemstones preferably colourful, pick one randomnly and do something with it.
A selection of some stones and details
Then my son  helped me out and picked the central coconut detail. Unfortunatelly probably for me,,, who knows.
I came up first with this:
Then with this
Africa in me
Africa in me
PS other pieces were very gorgeous by various beaders-girls- artists in no particular order....

1.A soutache brooch or necklace element - by Dalika (Javų laukuos vakarėja)- (Dusk in a Field of Grain)
2. A focal gorgeous necklace by Vitalija Velyviene  "Ežero muzika' (Lake music")
3. Blue colour pieces a hair pin and necklace by Eglė Vosiliūtė.
4. A focal necklace by Gitana Diržienė it is called "Belaisvė" - (A Captive Woman")
5. Fun Earings by Ieva Skačkauskienė
6. A bracelet by Edita Kricenaite- it is amazing how a bull fight has been captured ("The winner takes it all")

By Dalika her forum page
By Vitalija Velyviene
By Eglė Vosiliūtė
By Gitana Diržienė
By Ieva Skačkauskaitė

By Edita Kricenaitė (rebel soul)

Monday, January 20, 2014

DIY mittens with bead decorations + a keychain


Hello, just one more quick update on my sewing adventures ;) I have made two pairs of mittens out of an old thrifted and washed sweater (one for me and for the friend as a gift)- do they look like oven mits? :D I hope notttt.... I like my mits as they are beautifu and hopefully I won't loose them because I am always loosing gloves ... all over the place ;)
It was quite easy I used my old mit as a guide, made it bigger. Although the fabric isn't exeptionally good as there is only 30 per cent of wool- but it has been my first try ;)

I have cut the shape used the hem of the sweater as the natural end- if you will be doing remember to leave the ends longer- it is much cosier for your wrists ;)

So here are some more pics of the process :)


Have fun with your diy - have you made mits out of an unwanted sweater?
G. ;)

PS from the same sweater there appeared a cute keychain rabbit- quite crazy looking one- very  assimetrical ;)

A necklace Tenderness- let's go cream ;)

Hi dears ;) All my best wishes who is reading. I haven't sorted my camera yet, but will try to post what I am up to.

I have created a new necklace and earing to go with it ;) Based on this youtube tutorial by Potomac bead company - here and of course there is a lot info on bead crocheting basics .


i have called the nceklace "Tenderness", there is bead crocheted chain- i cannot still master this art the way I would like to...but maybe it is in the future. I have used RAW for the pendant and earings, herrinbone for the bail and brick stich for the tiny flowers ;)


Have a wonderful day and jump into your beads :)
G.

Saturday, January 11, 2014

Owl pincushion sewing tutorial


I have created these owl  pincushions from different fabric pieces, just kept of course in the same colour family of blue, yellow and orange (and three more like that and want to share how I did it). The colourful wonderful buttons were kindly given by kandcsupplies . For some owls I had used these:
from kandcsupplies (patchwork pattern wooden buttons)
for other ones the gorgeous chevron printed ones looked great:
from kandcsupplies (Small mother of pearl buttons with Chevron pattern)

So you need:
  • fabrics
  • buttons
  • stuffing
  • sewing kit
  • ribbon, fur (for decoration)
  • a sewing mchine (might do without)
 Make a paper pattern for your owl pincushion: a body, wings, eyes, bigger eyes, and beak.

 Iron your fabrics very very well and cut out acording to the pattern you have drawn, I was inspired by the owl on the plate..
Take the body part, place bigger eyes, a beak and wings, sew around the eyes capturing a part of wings and a beak details placed under use  the quilting stich like for an applique:

The result is like this:

Place the eye details, sew around:
Sew the buttons of your choice for eyes 
Put the right sides together of the body parts front and back sew together very well go over twice :)
 
 Place the little fur between the body parts:

Leave a small part unsewn for the tuning inside out, and stuff your owl well :)

 Sew the remaining gap with invisible seam ;)
 

The result is something like this and you might use your pincushion tied around your sewing machine. 


So have a nice time sewing your pincushion ;) 
Gutukas (All in Beads)

Sunday, January 5, 2014

My recent sewing adventures


 I have got into sewing for the past three months more, I would like to share some things i have created, it is just a humble start for me. ;)


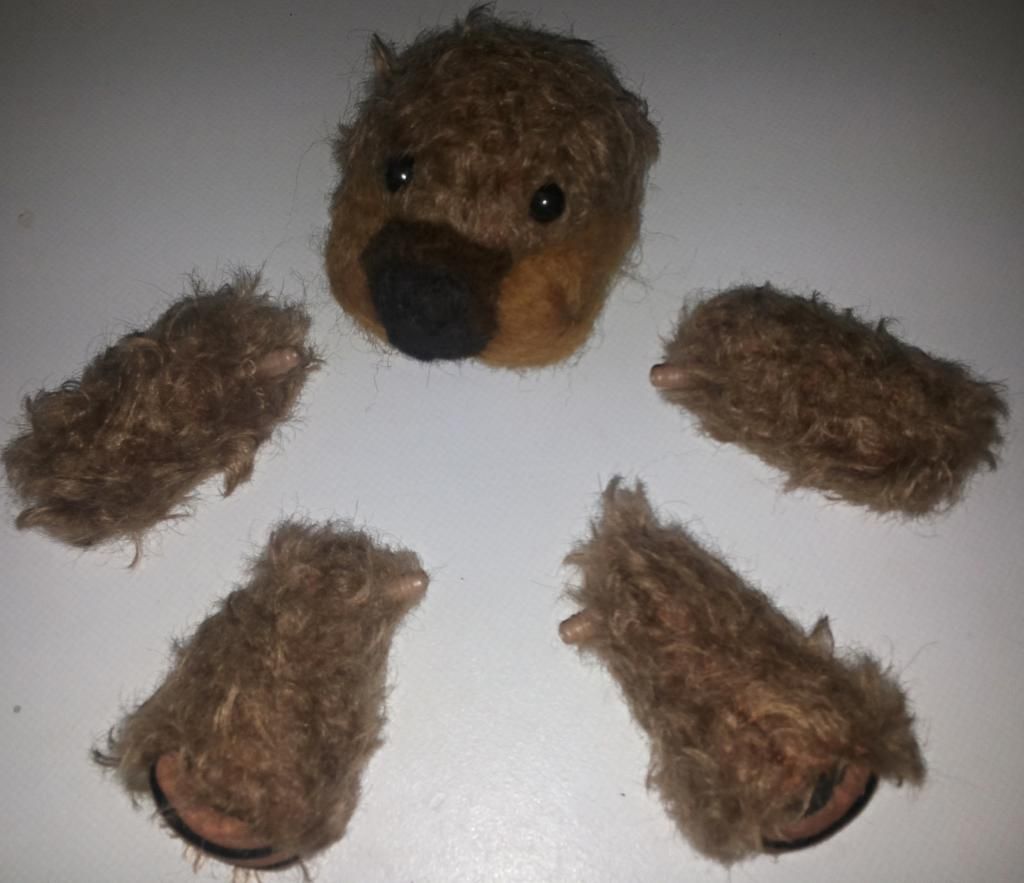
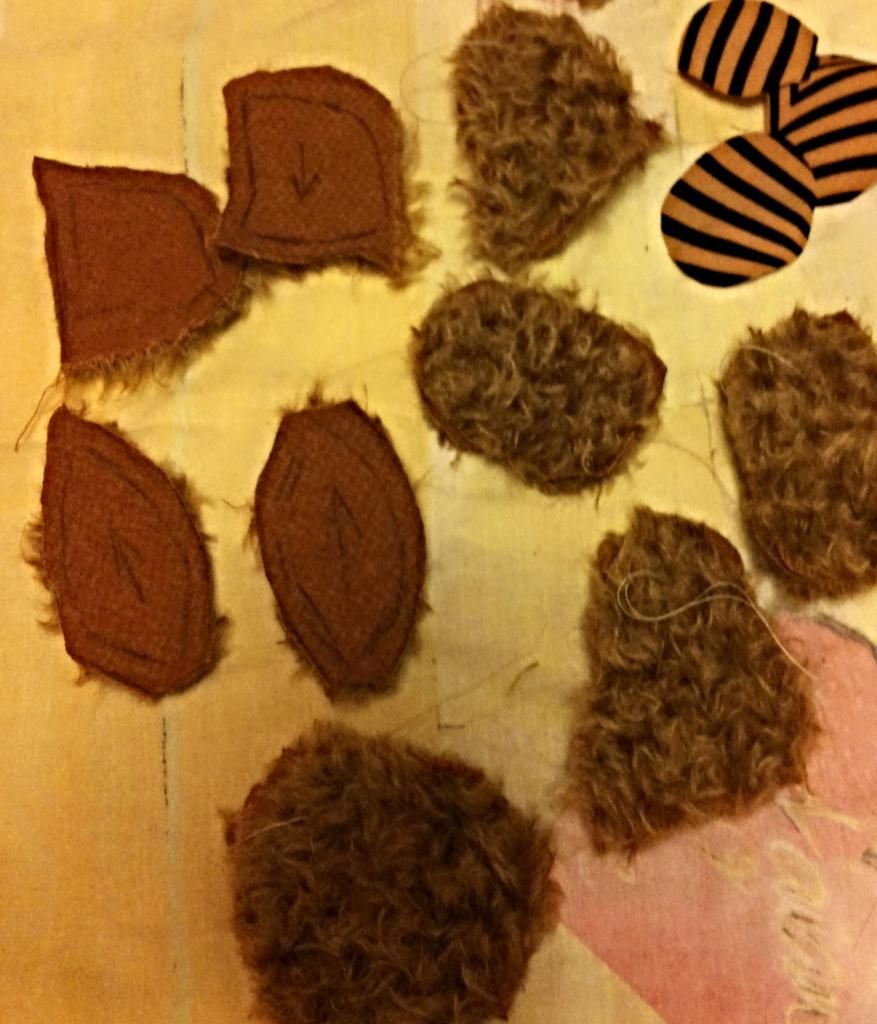
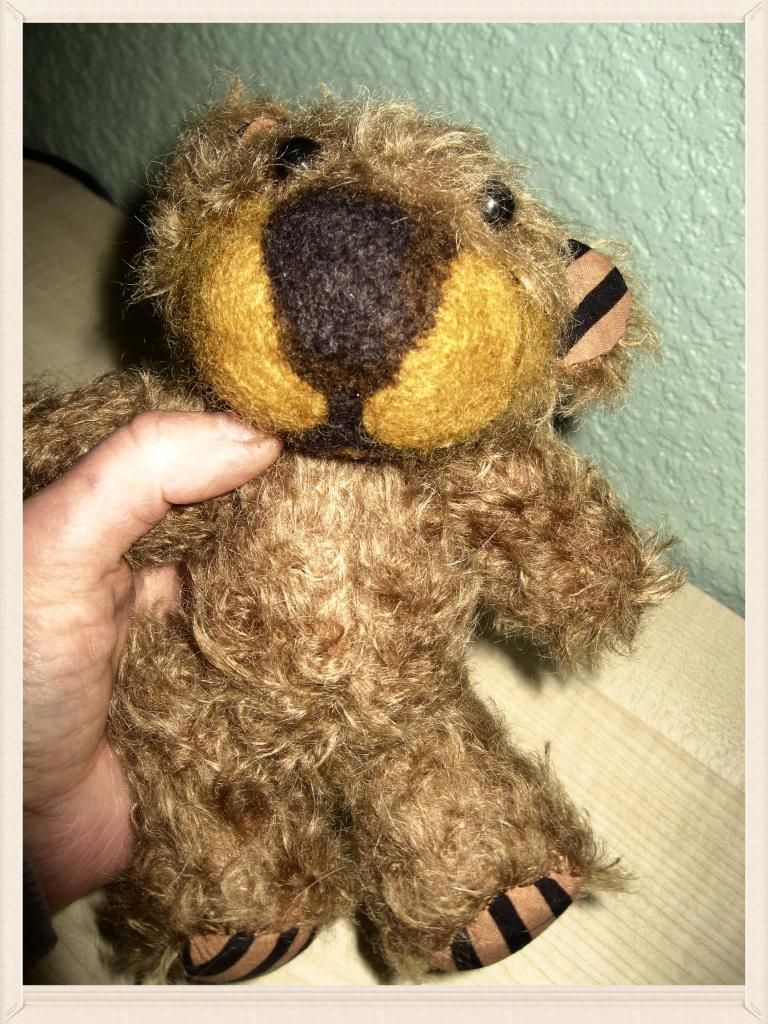
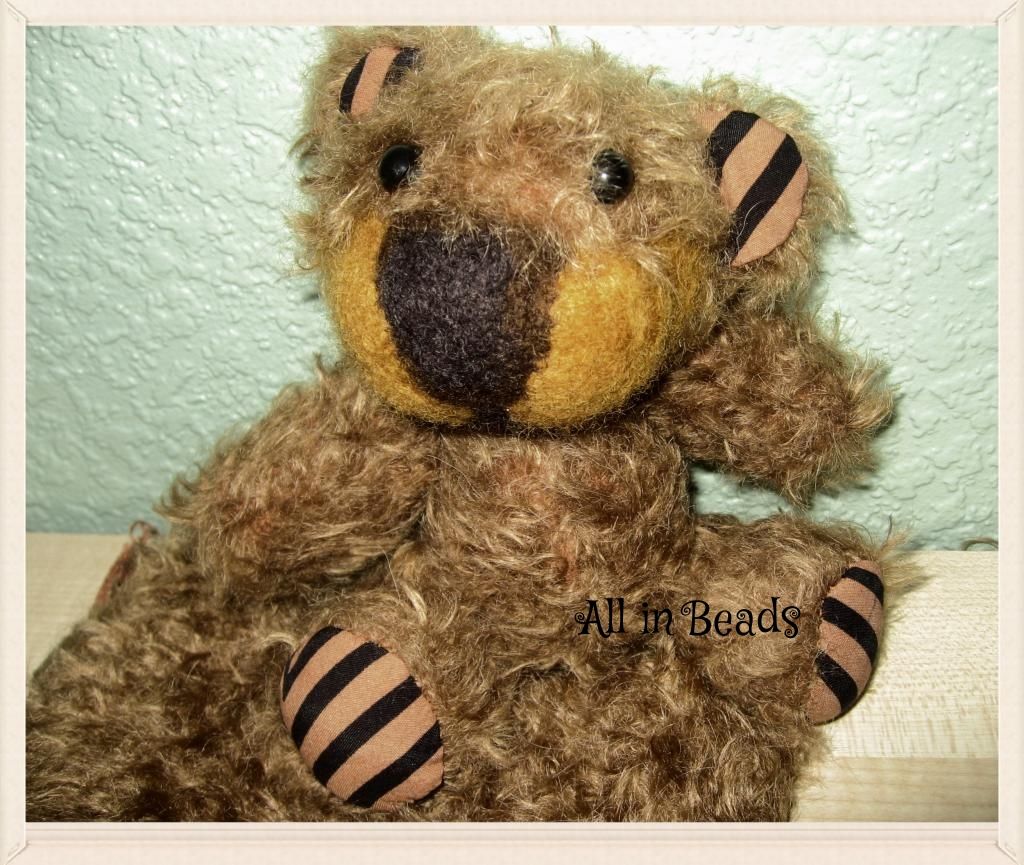
I got into teddy bears a bit, but didn't have enough passion for that, though a promise for my daughter has been made she needs another teddy too. This one was made from something of this : I have my little teddies board here on Pinterest: Teddies and dolls. This a cute teddies blog- http://bears-hut.eu/ Everyone can make it using this tutorial in Lithuanian- The first lessonThe second lesson , The third lesson
And this:
Into this lion- teddy bear creature :))))
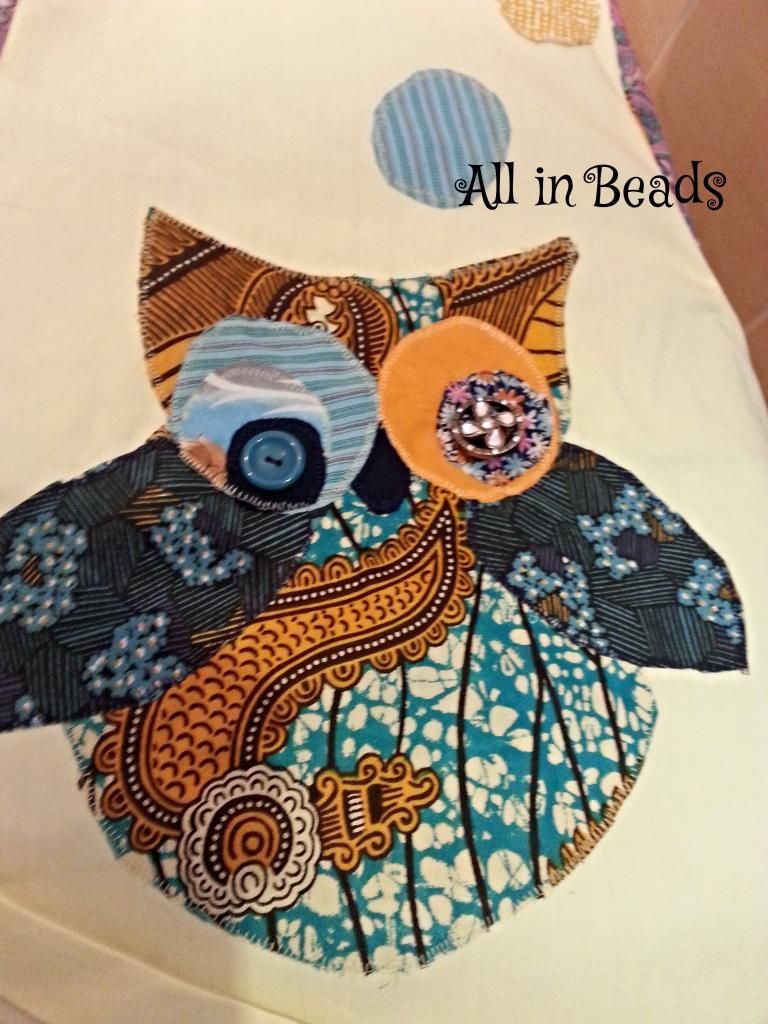
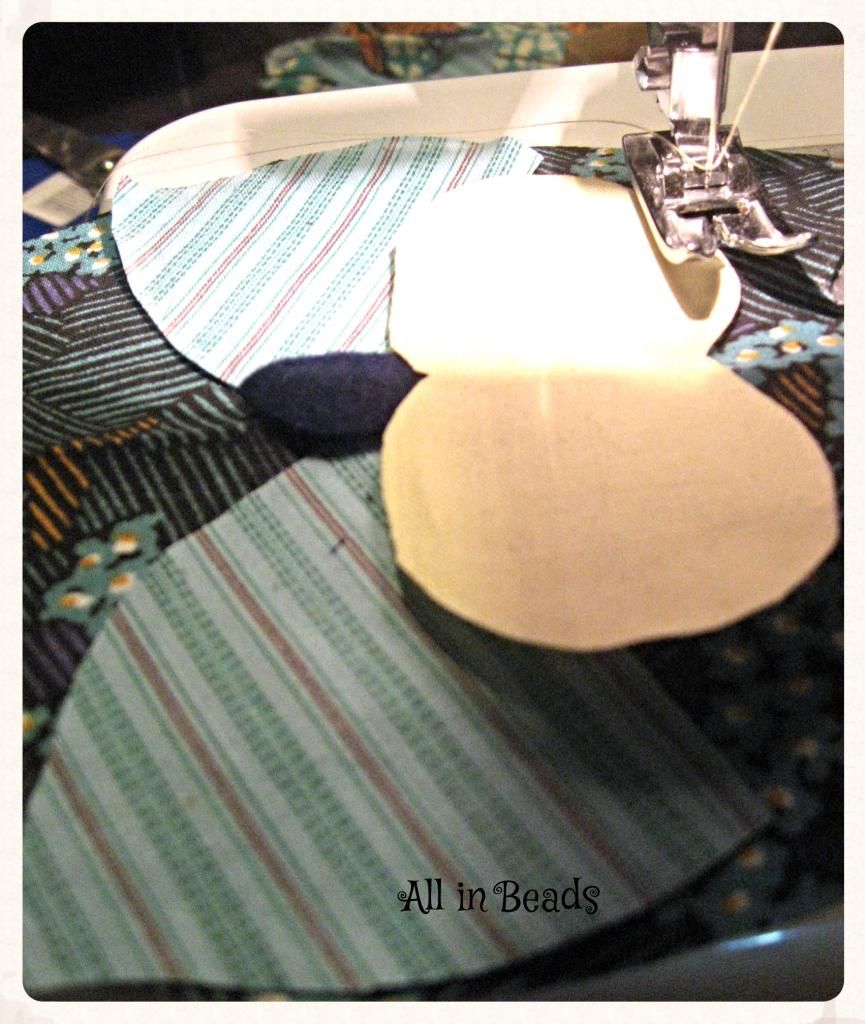
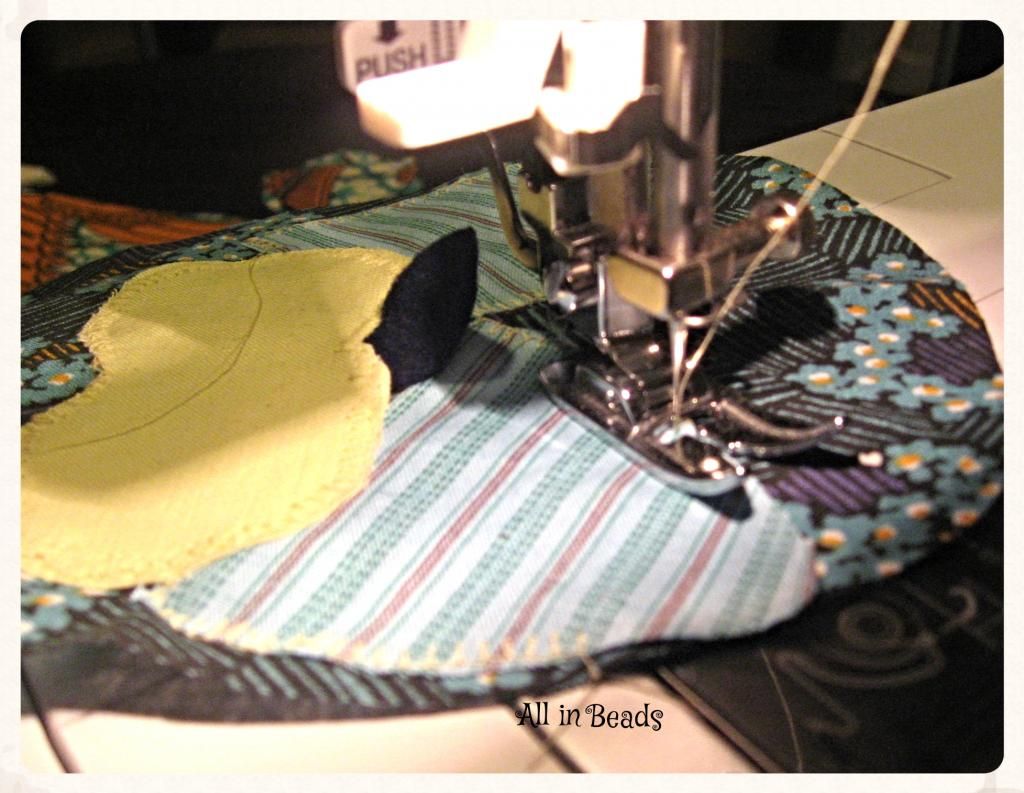
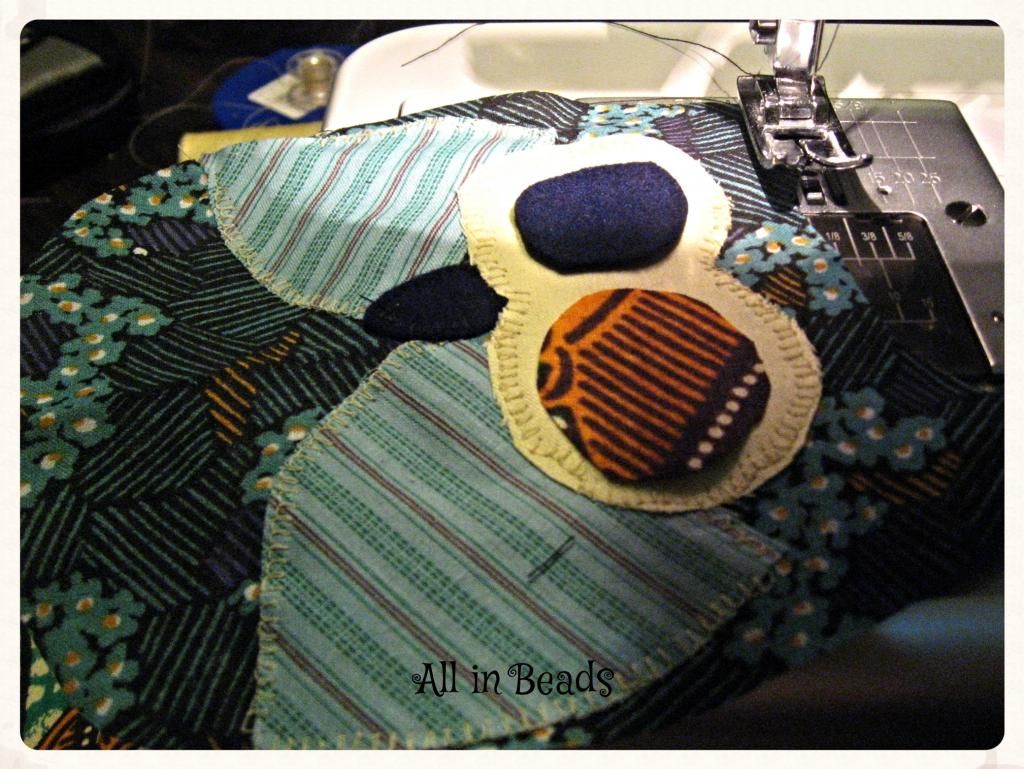
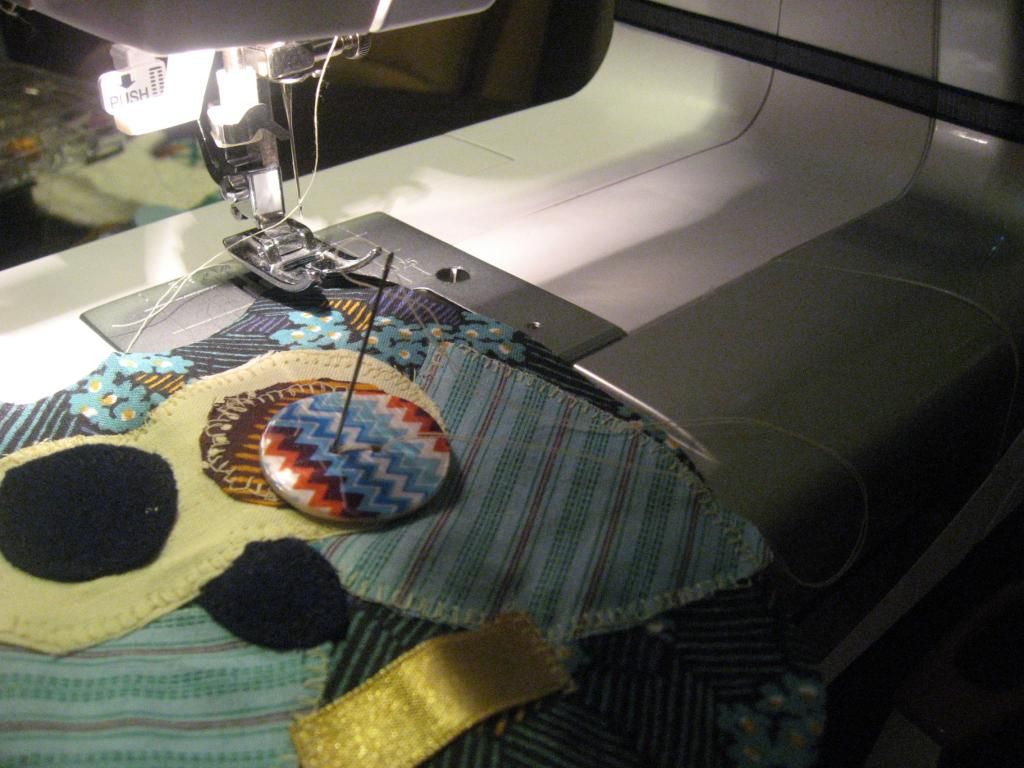
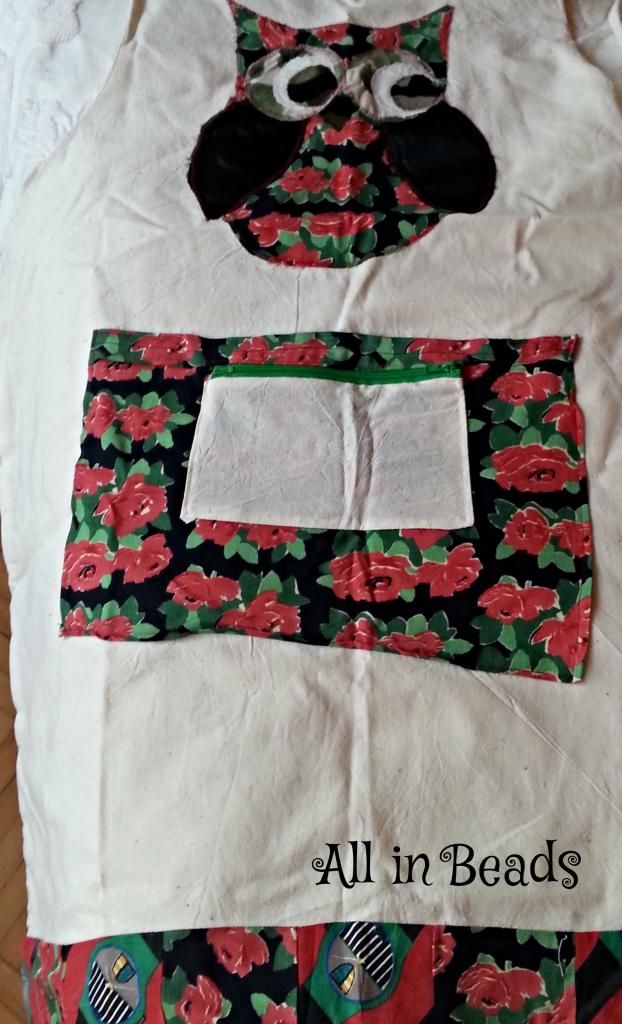
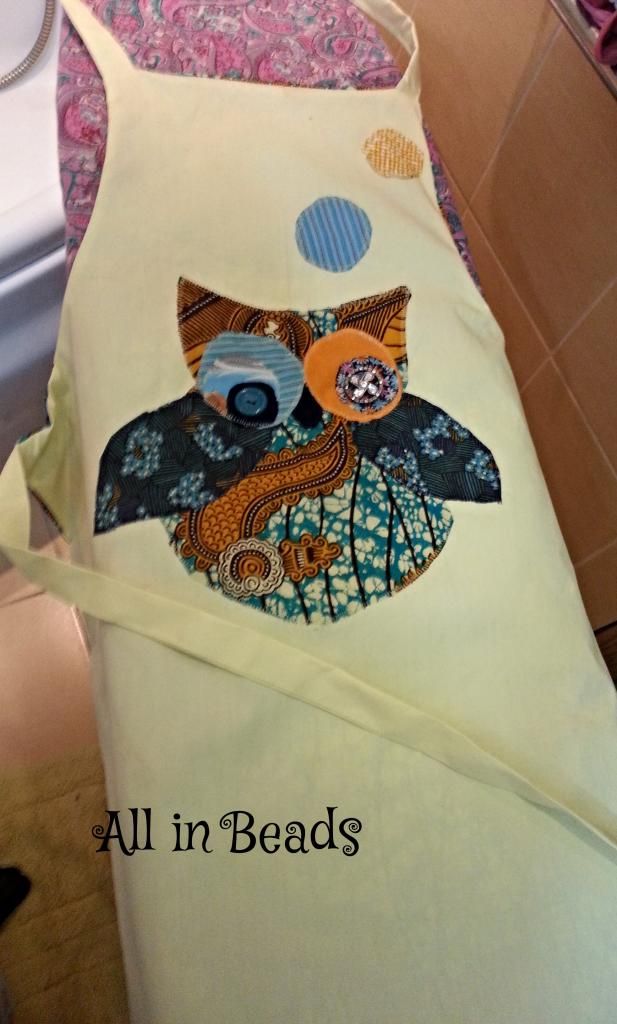
Then I made three aprons with owl applique (as presents for my close ones).
The red and green one: 
The sort of blue, orange and brown, all my aprons are two sided some have pockets just one  doesn't.
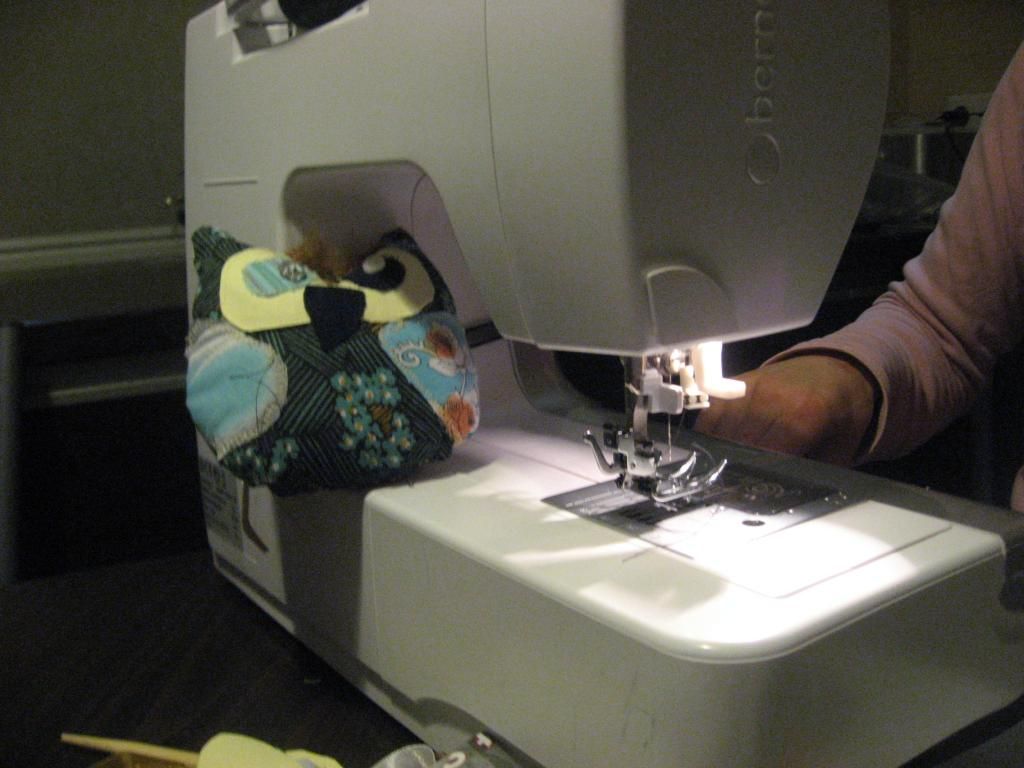
I love the button details, for me personally making aprons with appliques is real fun, I get a bit creative with fabrics, I use a simple quilting stich on my Bernette sewing machine, trying to coordinate thread sometimes not.
Here is on unclear photo of another one:


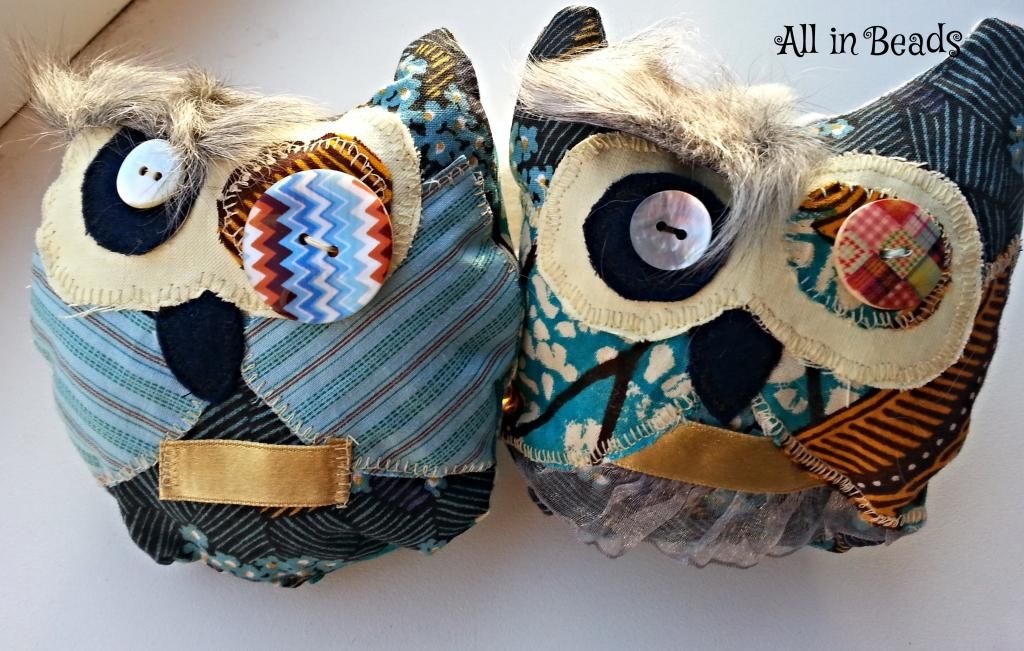
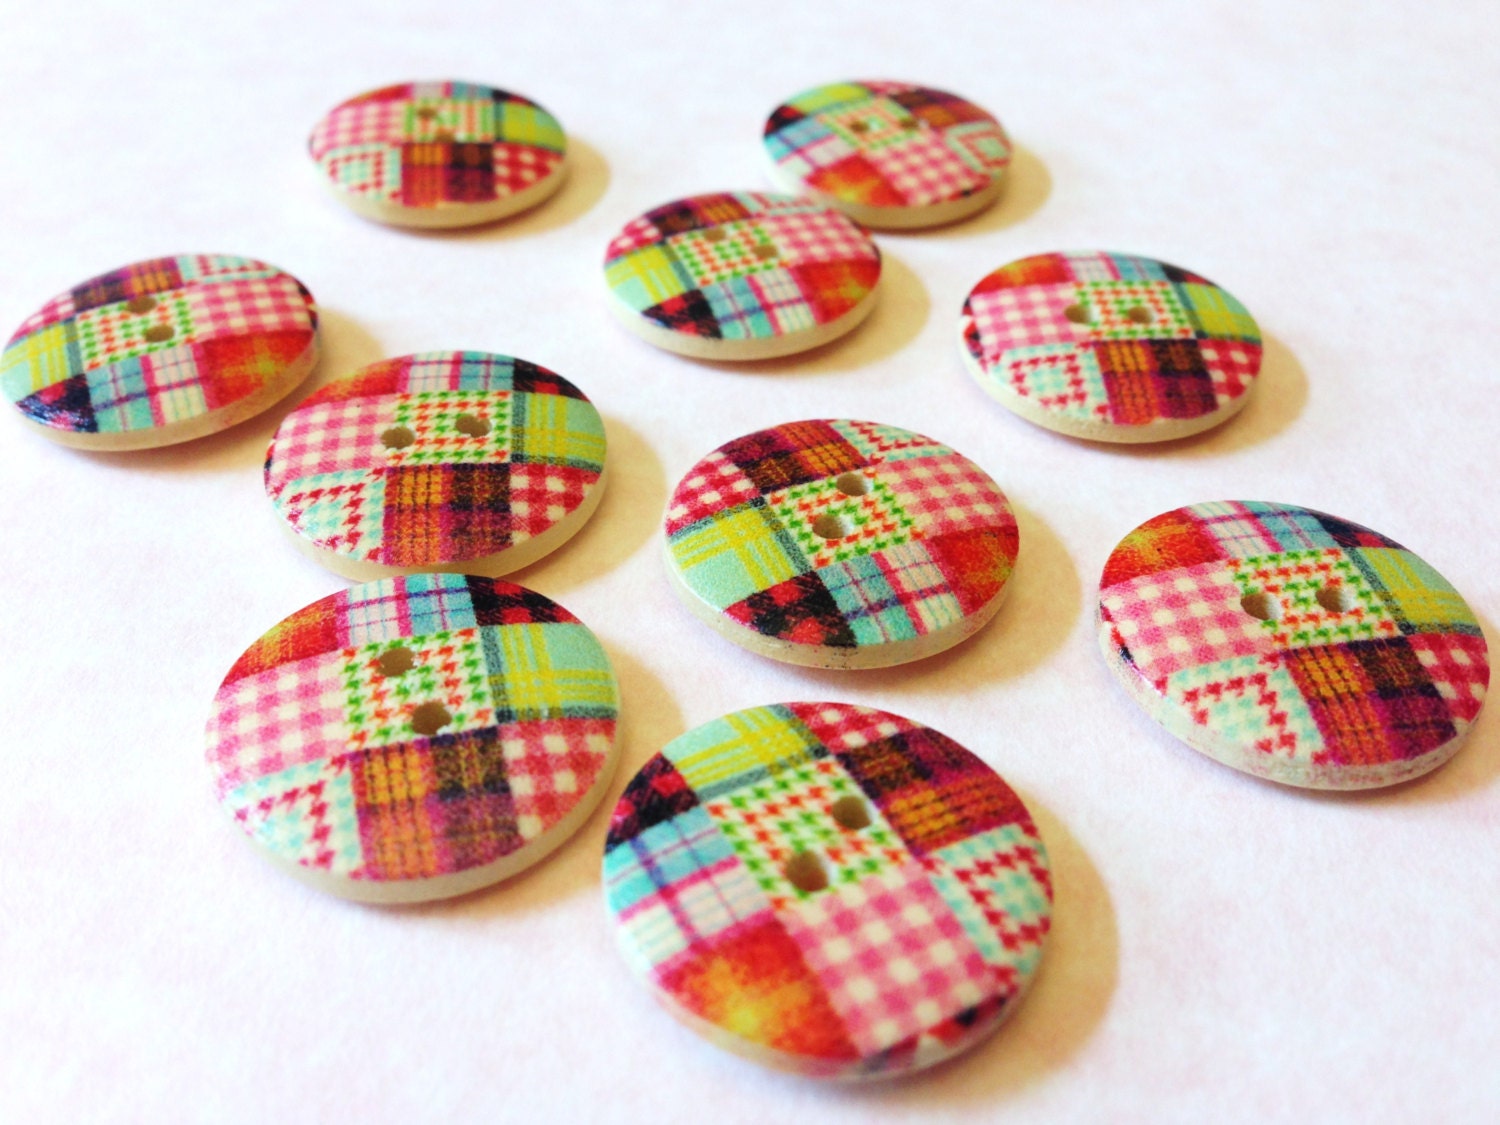
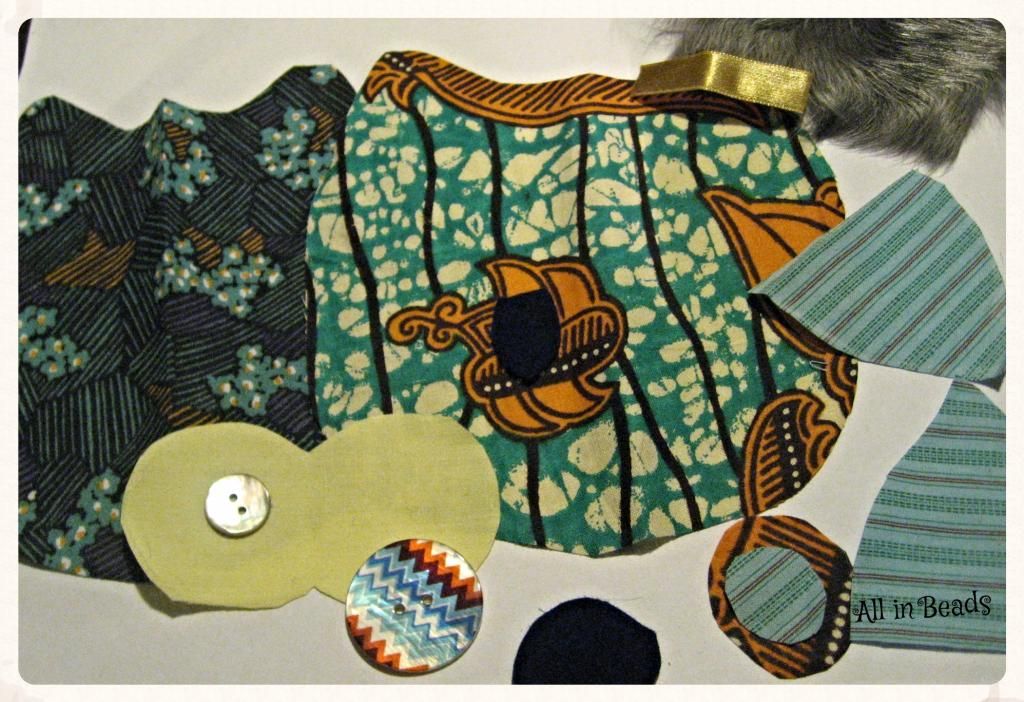
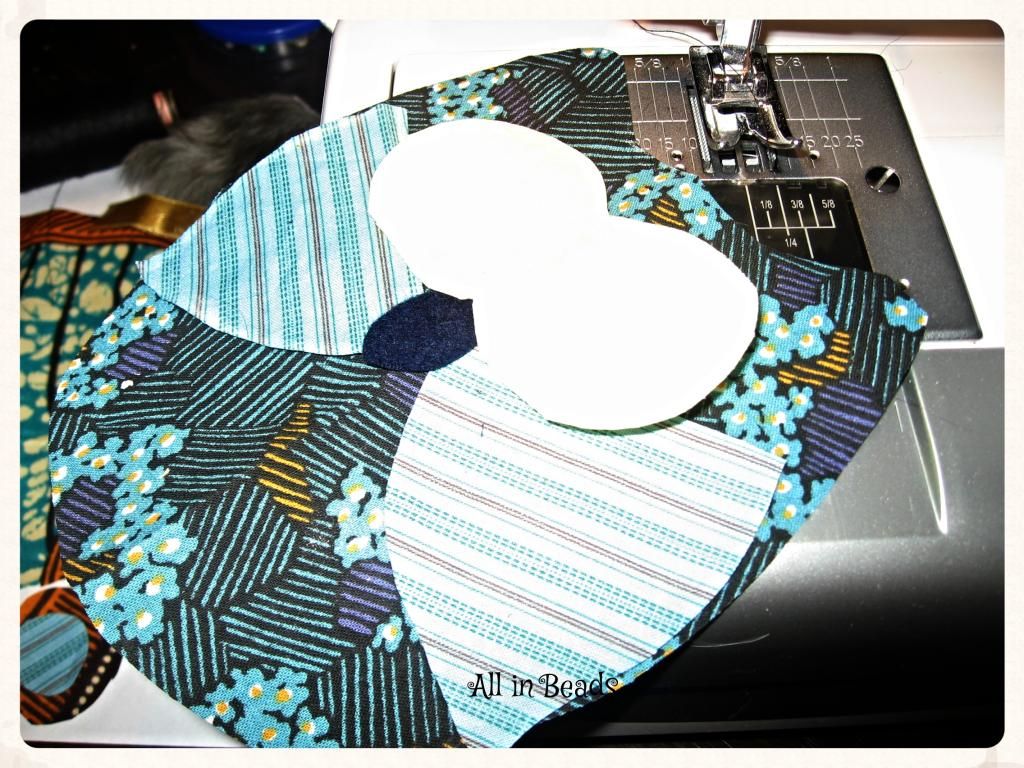
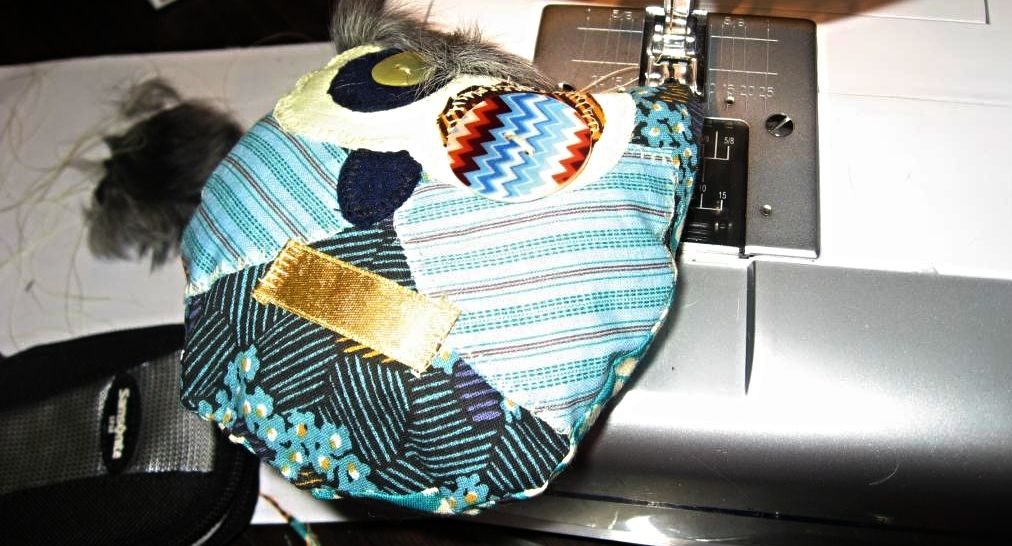
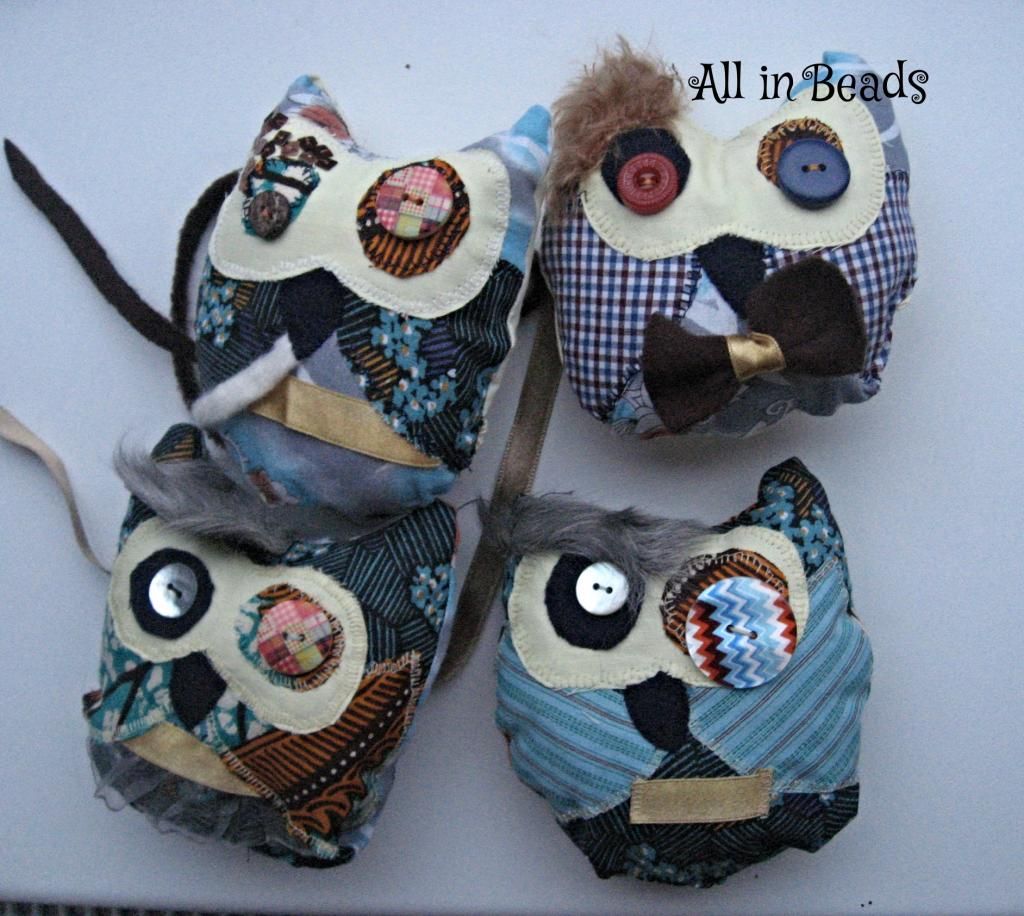
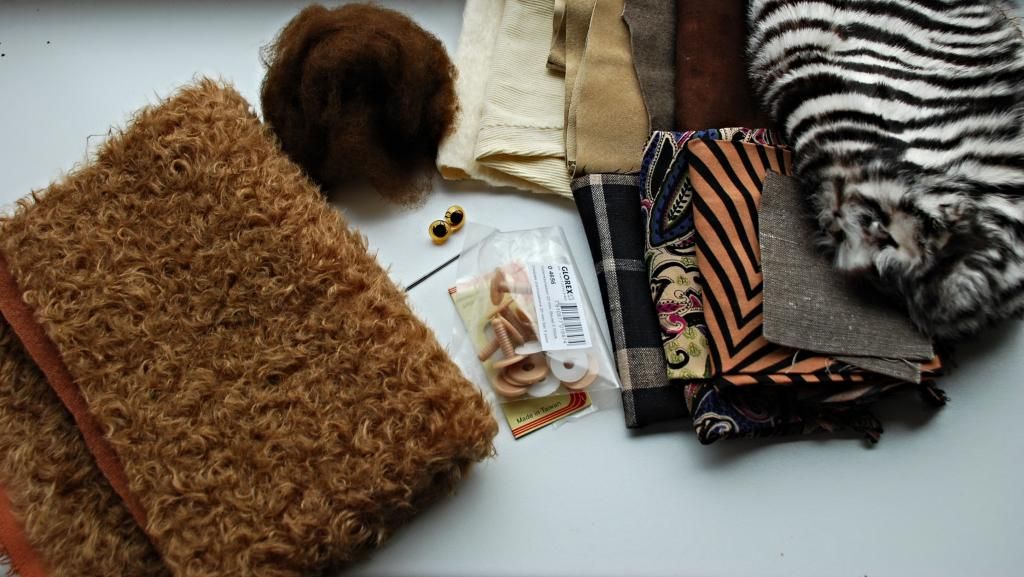
Last but not least, my favourite part my pincushions: here I used buttons from a package kindly sent in exchange for a tutorial (it is coming up)  from K&C Supplies on Etsy (they sell zippers and buttons). I used cute buttons chevron one and patchworked one ;)

Here are all four pincushions (I have left one for myself - the others went (flew :)) as presents for my sewing courses classmates.
Here are all four:
Here is my pincushions board on Pinterest here, maybe for some inspirations, these cute little projects are very satisfying.

Happy New Year and happy creative sewing :)

G.